
CognacBox - a perfect vagrant box to run Laravel7
I had to install a new scotchbox and after a few minutes I ran into the same issues as Pablo Giralt had. He posted the issues on the Scotchbox Gibhub page and there I found the perfect solution for my issue.
I tried to write down every single step, so this guide is for pros as much it is for absolute beginners. An installation guide for the replacement of Scotchbox - a vagrant box that just works. If you want to develop locally you don’t want to mess up your system with different versions and web servers. You love it to have a clean and easy to use solution for your local development. So here is a step-by-step guide to install CognacBox - the Scotchbox alternative - on your Mac with everything you need as LAMP.
Before we can start with the installation
If you don’t have Vagrant and Virtualbox installed on your system you should start the installation now. These two applications are necessary for running the CognacBox. After finishing the installation you can start with the first step.
Step 1 - Install CognacBox via Github
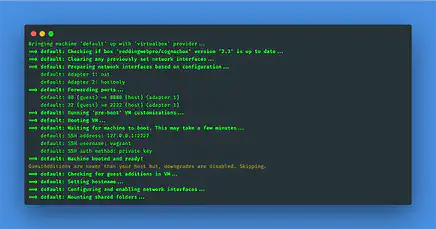
Go to your Terminal and clone the latest vagrant settings for the CognacBox. You can use whatever you want as the name for your box. In my case I use CognacBox. Go to you preferred local development folder in the Terminal and run the following command:
git clone https://github.com/reddingwebpro/cognacbox.git cognacbox
If you run into an issue you might not have git installed on your maschine. You can use this great installation guide: Installing Git . The next step is to go into the CognacBox folder and start the box.
cd cognacboxvagrant up
If you want to change the default configuration go to the Vagrantfile and change the IP address or the forwarded ports. This is important if you have more boxes running at the same time.
# -_- mode: ruby -_-
# vi: set ft=ruby :

Vagrant.configure("2") do |config|

    config.vm.box = "reddingwebpro/cognacbox"
    config.vm.hostname = "cognacbox.develop"
    config.vm.box_version = "2.3"
    config.vm.network "forwarded_port", guest: 80, host: 8080
    config.vm.network "private_network", ip: "192.168.33.40"
    config.vm.synced_folder ".", "/var/www", :mount_options => ["dmode=777", "fmode=777"]
    config.vm.provider "virtualbox" do |v|
        v.memory = 4096
        v.cpus = 4
    end

end
If everything looks like this it is perfect, you finished the first step. So before you go to the next step I have some great recommendations for you. To make it easier for me to handle more Vagrant boxes I use Vagrant Manager for OS X and to make development even more comfortable I use virtual hosts. To make this possible you have to edit and change the hosts file on your Mac. You can use the Vagrant Manager for this or this great tool called Gasmask. Please don’t ask me about the name - I have no clue why they choose this one. You can use Gasmask to add an new row to the hosts file:
192.168.33.40 cognacbox.develop
Save it and then go to: cognacbox.develop DONE 🤓. On this page you can see all the detailed information about the box. Looks familiar to you - it’s because CognacBox is a clone of the Scotchbox project.
Step 2 - Install Laravel7
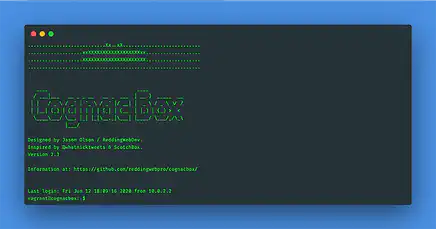
For the next Steps you have to use SSH to log into the CognacBox. With the Vagrantmanager it is very easy. Just use the Vagrantmanager menu at the top right - click on your box and then SSH. If you can’t see a green dot, just click on refresh and everything is fine. Then you might see something like this.

Because composer is already installed on this vagrant box you can skip this step and start with the installation of Laravel and run this command in your Terminal connected with the CognacBox.
composer global require laravel/installer
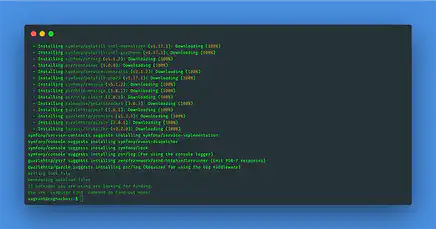
This will take a while and at the end you will see something similar like this.

To create a new project you have to add the composer vendor path to the $PATH on your Cognacbox. Sounds difficult but it is quite easy. Change the actual folder to /home/vagrant/ with:
cd /home/vagrant/
With the command ls -a you can get all files inside this folder - including the .bashrc file. Edit this file with an editor called nano by typing the following command:
sudo nano .bashrc
Scroll down to the last line and add this to the file:
export PATH=”$PATH:$HOME/.config/composer/vendor/bin”
Then use “CTRL-X” to close nano, type “Y” and press return. The following command refreshes the Terminal.
source ~/.bashrc
To check if the path is right, you can type in “$PATH” press return. If you see the path at the end everything is fine. Now you can start with the installation of Laravel7 - go to the “WWW” folder and run laravel new.
cd /var/www/laravel new projectname.develop
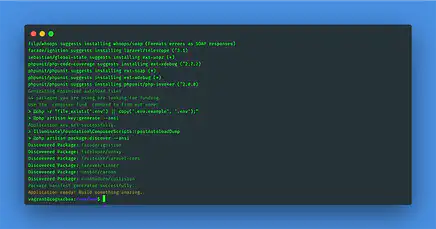
At the end you will get something like this.

Step 3 - Final step - Apache virtualhosts
To make it way more comfortable to develop new stuff I love to use virtual hosts on the Apache server. So you need to go to the “sites-available” folder and add a new virtualhost to the apache config file.
cd /etc/apache2/sites-available/sudo nano 000-default.conf
Then you need to add the following lines at the end of the file. You can change the domain or the folder to everything you want - but it should be consistent with the folder structure.
<VirtualHost *:80>
        ServerAdmin webmaster@localhost
        ServerName projectname.develop
        DocumentRoot /var/www/projectname.develop/public/
        ErrorLog ${APACHE_LOG_DIR}/error.log
        CustomLog ${APACHE_LOG_DIR}/access.log combined
        AccessFileName .dev.htaccess
        <Directory />
            Options FollowSymLinks
            AllowOverride All
        </Directory>
        <Directory /var/www/projectname.develop/public>
            Options Indexes FollowSymLinks MultiViews
            AllowOverride All
            Order allow,deny
            Allow from all
            Require all granted
        </Directory>
</VirtualHost>
And again with CTRL-X, Y? and return` to save the file. At least you have to restart the Apache server with:
sudo service apache2 restart
You’re done. The last thing you have to do is to add the new domain to your local hosts file with Gasmask. Start Gasmask and add the following line:
192.168.33.40 projectname.develop
Save and close the app. Now you can open the URL http://projectname.develop/ and everything is working! AWESOME 🤓
Hopefully you enjoyed this installation guide for Cognacbox and Laravel. Thanks to Jason Olson who initiated Cognacbox as an alternative to Scotchbox.
All links in a practical list


More articles

Conversational Design - The Art of Conversation
Welcome, curious minds and innovative thinkers! Today, we’re embarking on an exhilarating journey into the heart of conversational design, a realm where words become the keystrokes of …
Passion, Tech, and the Conversational AI Journey!
Hello, passionate tech enthusiasts! Today, I’d love to draw a parallel between the thrilling world of Tailwind CSS and Conversational AI. Two seemingly unrelated subjects, but bear …
